From my product designer’s perspective, one of the most useful functions in a 3D solid modeler such as SOLIDWORKS is the ability to check for potential interferences in their still-virtual assembly. But, once found, can one remove the offending interfering material from the desired part?
I’m glad you asked!
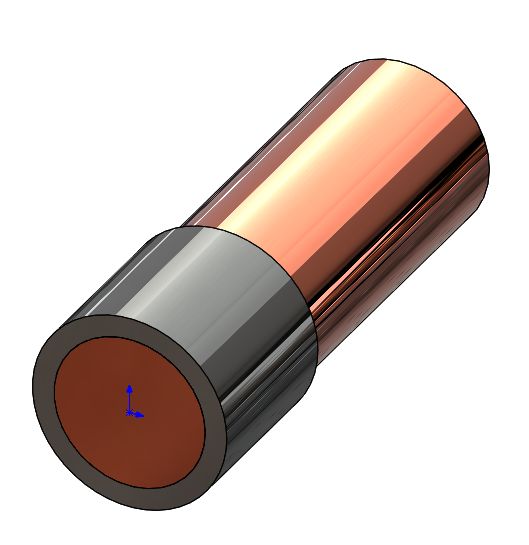
Take a look at the example assembly in Figure 1. It’s hard to tell if there is a problem or not, isn’t it? But SOLIDWORKS’ Interference Detection command quickly confirms and reveals the problem (Figure 2).
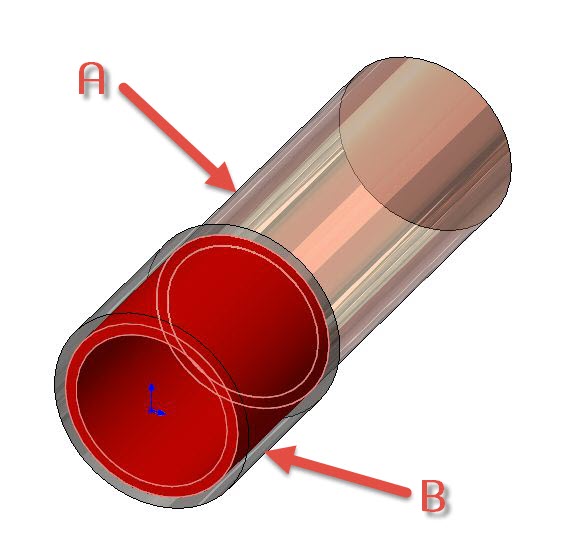
Let’s say the desired solution is to remove the material from Part A. Begin by editing Part A in the context of the assembly. Then, start the “Cavity” command (Insert -> Features -> Cavity) and select Part B as the “Design Component.” (Note: more than one Design Component can be selected.) You can see the resulting part in Figure 3.

Share
Meet the Author
view all posts by GSC
SOLIDWORKS Webinars & Power Hours
